THE ART OF BRONZE
FROM INITIAL CONCEPT THROUGH FINISHED BRONZE
Step 1
ARTIST’S CONCEPT
The first step of the process is to develop an idea through sketching. The concept is developed through specific drawings and then a maquette (small 3D model).
The most creative part of the entire process is the concept work where the artist is working alone. After the creation of the original sculpture, the expression, “it takes a village” can be applied to the casting process.
The original sculpture is usually worked in oil, water-based clay or wax. It is a “positive” and the subsequent molds are “negatives”. There are three positives made during this process, the original sculpture, the casted wax, and the final bronze*. Two negatives are also created – the wax mold and the investment mold.

Step 2
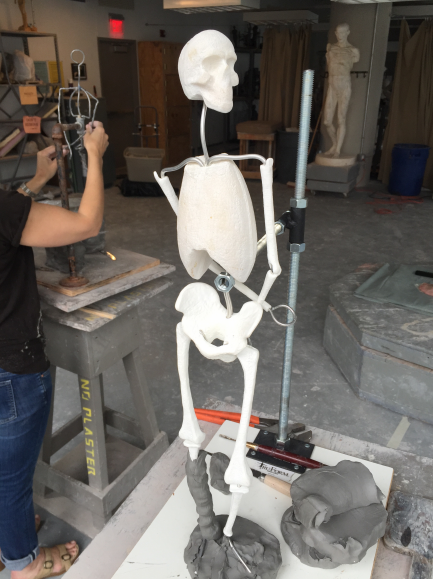
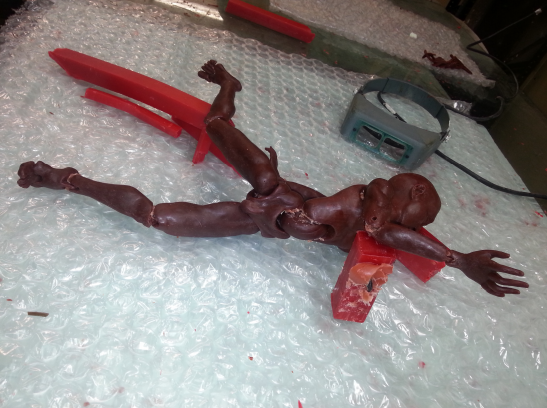
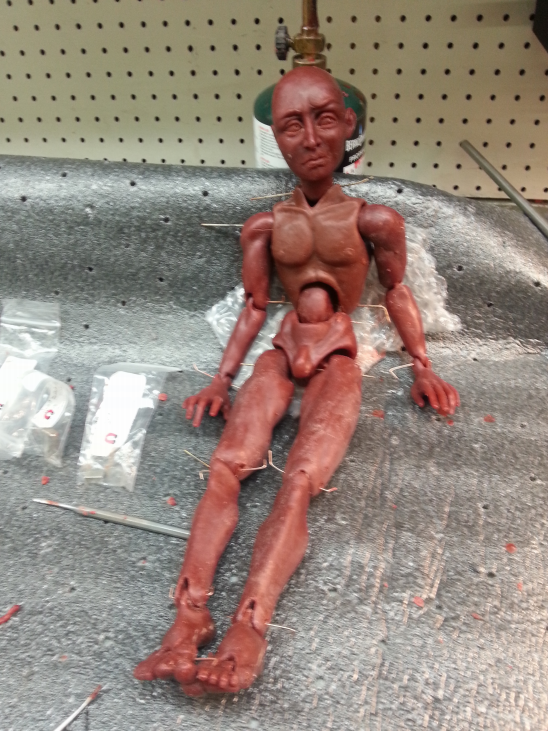
Original Clay Sculpture
The original clay sculpture is built over an armature, an internal metal structure which keeps the clay from falling apart under its own weight. When completed, a mold is made of this original sculpture.

Step 3
Rubber Mold
Silicone or urethane rubber is brushed over the sculpture in several thin coats to get details of the sculpture and ensure that there are no air bubbles. A mother (plaster) mold is then created around the rubber mold for stability.
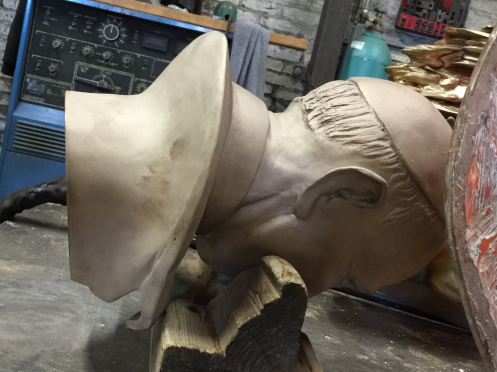
Step 4
The Wax
A release agent is sprayed into the mold to prep it for wax. Wax is melted in a crock pot and then poured into the rubber mold creating a thin first layer. The wax is moved around so that the entire inside surface of the rubber is coated to capture all detail. The remaining wax is poured out. This step is repeated until the wax wall measures approx. 3/8” thick. A hollow wax casting is created.
Hollow casting accomplishes 3 things:
– controls the sculpture’s weight
– controls costs
– avoids possible shrinkage problems
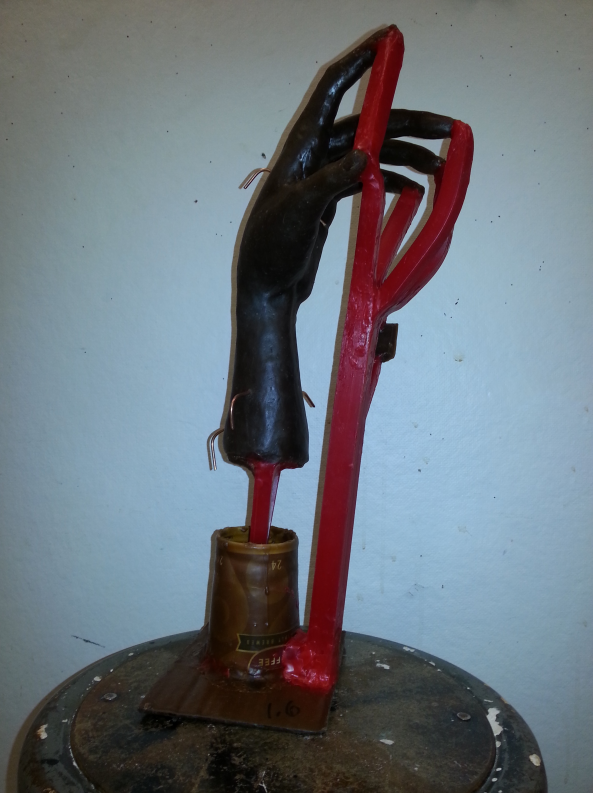
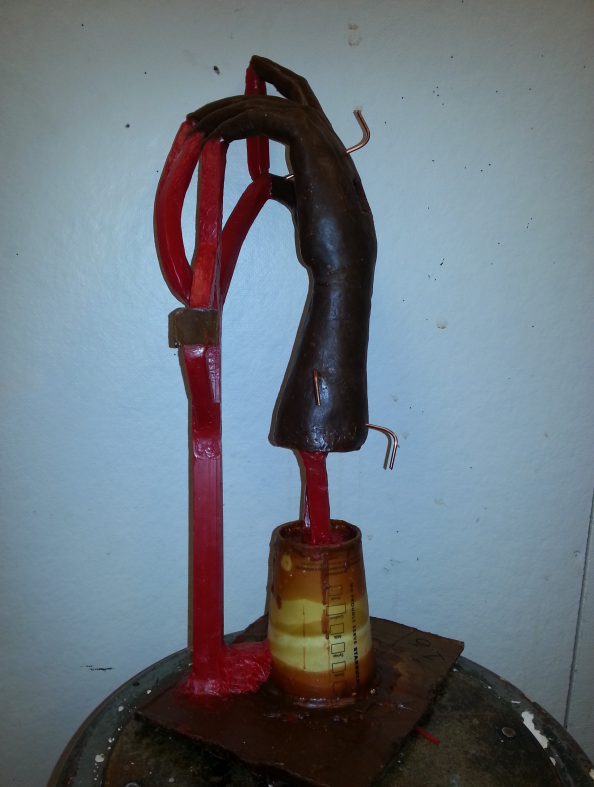
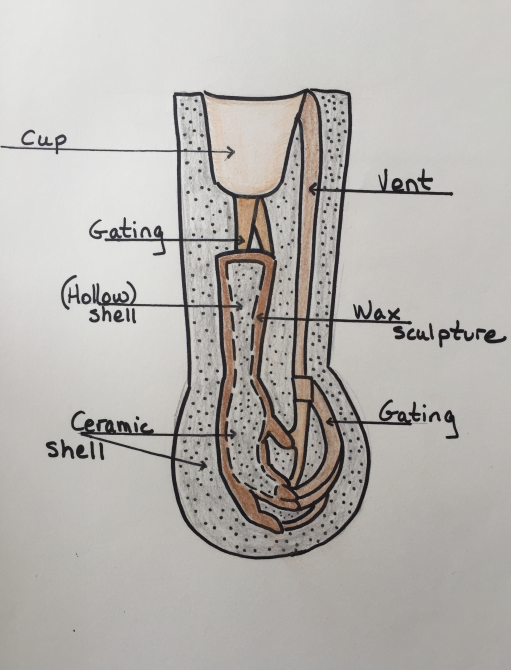
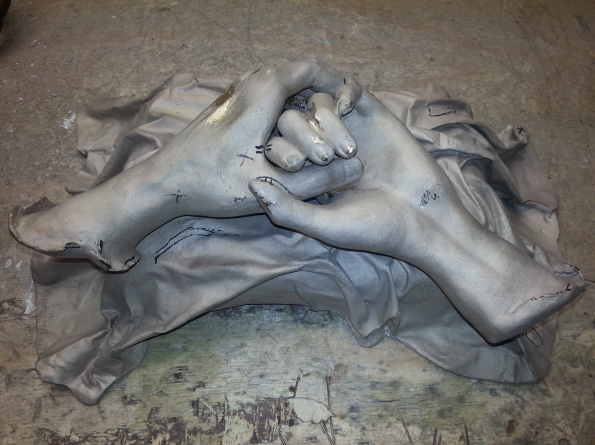
Once cool, the wax sculpture is removed from the mold and “chased, (cleaned-up). This includes removing seam lines created by the mold, surface air bubbles, and any other imperfections. The piece is then “gated”.
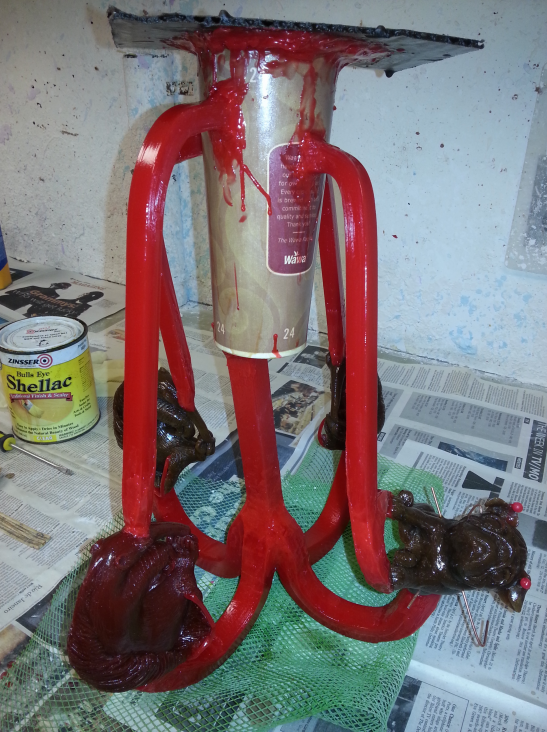
Gated hand
Step 5
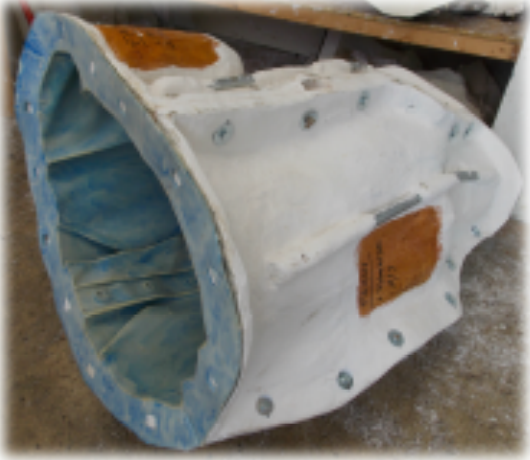
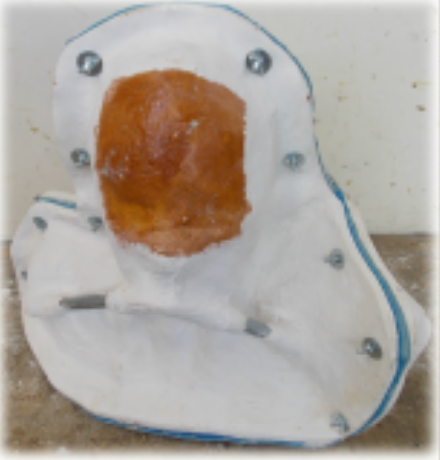
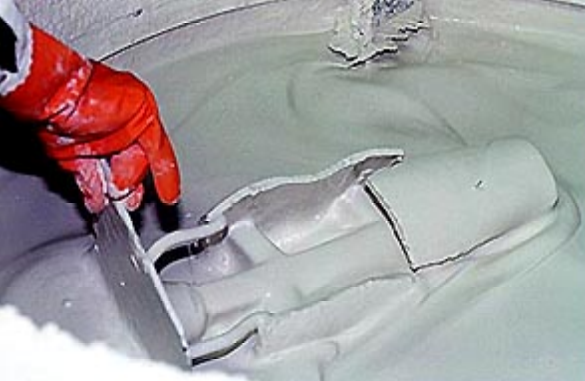
The Investment Mold
The wax is dipped in ceramic shell or “slurry”, creating an “investment” mold. The wax is then dipped into a tub of “stucco”. This step is repeated several times depending on the size of the work. Initially fine stucco is used for the first coats to capture detail and then coarser stucco is applied to the outer layers for additional strength. Several hours of drying time is required between each layer.
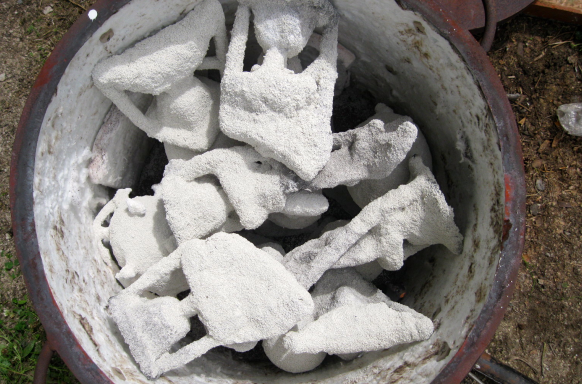
Step 6
Burn Out
The investment mold is then put in a kiln upside down to melt out the wax – leaving the mold empty and ready to receive the bronze. This step strengthens the investment mold by vitrifying the ceramic shell so that it can withstand the entry of molten metal in the next step.
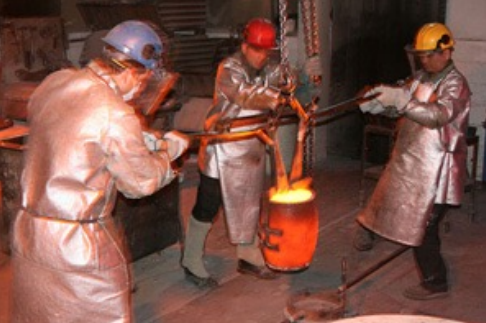
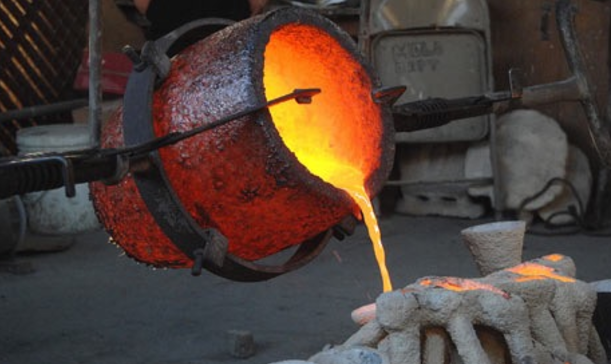
Step 7
Bronze Casting
Bronze ingots are placed in a crucible which is placed in a furnace and melted to approx. 2,200 degrees. The crucible is then lifted out of the furnace and the molten metal is carefully poured into each pre-heated investment mold.

Step 8
“Breakout” & “Chasing”
After the metal has cooled, the investment mold is chipped off using both hand and power tools. All gating is then removed using an angle grinder. The bronze is now “chased” using various grinding and sanding tools to create a perfect surface texture.

Gates removed & sandblasted
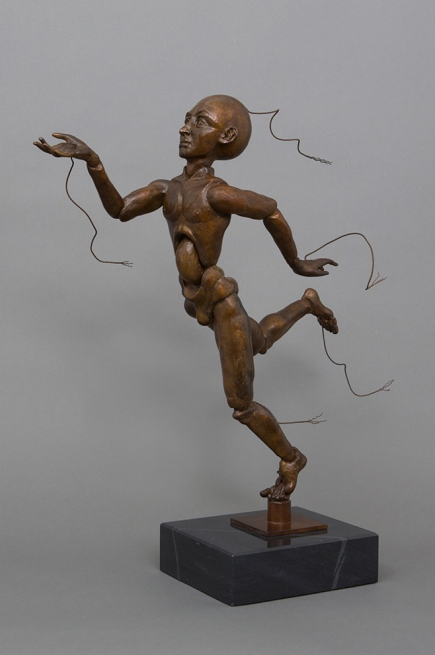
Finished bronze with patina
Step 9
Patina Application
A patina is applied either hot, using a torch, or cold, using a brush, depending on the finish desired. Patina is applied in layers using various chemicals to create a rich color. The surface is heated and coated with wax to both protect and give the bronze surface visual depth. The sculpture is now completed and can be mounted on a base.


